<<<<The first try
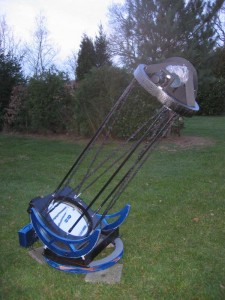 Even during construction of the first telescope, it became very clear that building a big telescope was quite difficult. With First Light in France came the realization that the instrument was far from perfect.
Design flaws in version 1.0
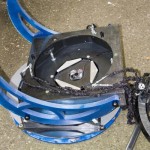
Errors in calculating the balance forced me to tape plastic bag full of gravel to the secondary ring to achieve a workable balance. And in my haste I had cut the carbon tubes 3 cm too short. Furthermore due to the lack of adjustability of the strings I had a collimation issue. And last but certainly not least the flexrocker didn’t work properly because the groundring wasn’t nearly as stiff as it should be.
Improved usability
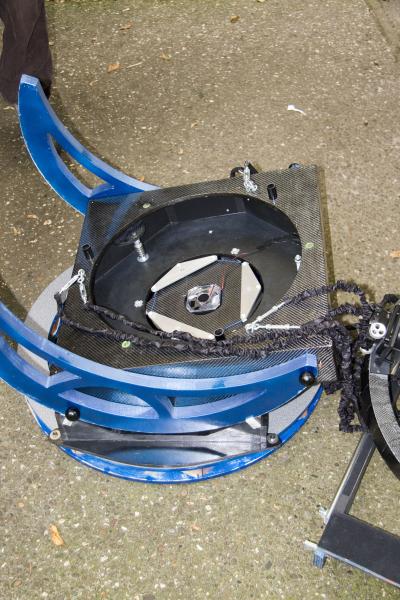
Also, I was confronted for first time with the fact that a ultralight telescope is not necessarily easily transported. To improve the usability of the telescope I shortened the mirrorbox which gave the telescope good balance. The side bearings were milled out to lose weight and create some handles to make lifting the box easier. A new ground ring consisted of two rings of 12 mm plywood with dividers between them. This resulted in a significant improvement in azimuthal motion.
New strings
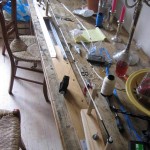
But the biggest improvement was made by rebuilding the strings. Two things are important when making this type of design. Firstly, you have to make sure that all of the wires in the string are tensioned equally. Secondly, since its nearly impossible to make strings of the same length, a way of adjusting the length is paramount for collimation. The new strings where made from BCY 450 plus, this is considered to be the string of choice by most amateurs. The single threads have absolutely no stretch. For making the strings from the second version I used the method archers use to make bowstring. For this I made a “serving-jig”. A string consists of a thread wound several times around two poles. Since a single thread can handle about 2.5 kg of weight, 8 windings resulting in 16 threads per string is more than sufficient. All strings together could lift 240 kg, this is overkill but a break in one of the threads could be costly. You can find more information on the string concept in these pages related to the final version of this telescope
String setup
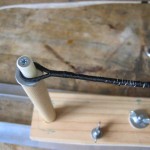
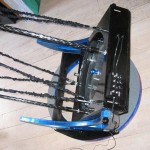
The telescope has a combination of three carbon poles and six strings. There are examples of other combinations such as 6 strings and 2 poles and 8 strings and 4 poles, which all work. One advantage of my choice is the symmetry in the attachment points. They can also be placed very close to the edge of the mirror which makes it possible to build a very compact mirror box. To create tension on the strings the poles where fitted with a threaded rod, a nut could then push the poles up against fixed points on the secondary ring.
Setting up the telescope is very easy and very fast. You put three poles tubes in the designated holes of the mirror box, put the secondary ring on top of the poles and turn the poles to tighten the tension on the strings, all of this can be done in less than a minute.
Collimation
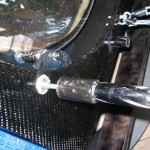
Collimation is achieved by adjusting turnbuckles at the end of each string. You can position the ring by shortening and lengthening individual string. It is possible to rotate the ring, move it horizontally and tilt it. Sleeves made of Nylon kite fabric protect the wires and provide damping of any vibrations caused by the strings. The damping time of the vibrations in the telescope is extremely low, far below the second. In March 2006 I finished the new telescope and was finally able to make some decent observations. The first views of the well known nebulae in the summer sky where everything I expected and made building the telescope well worth it.

