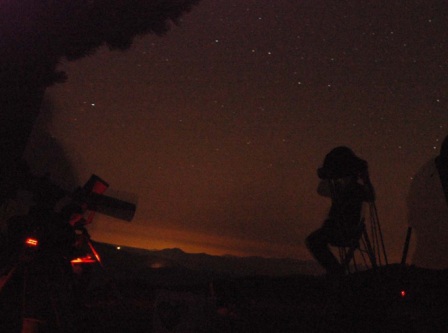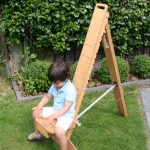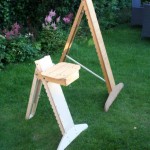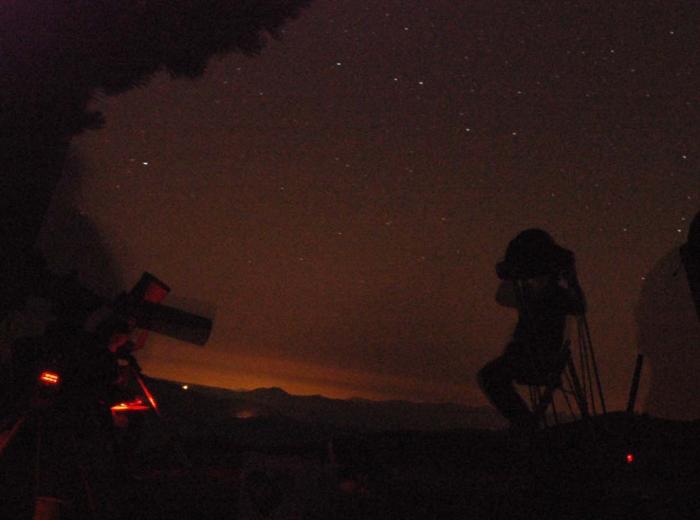
Since the construction of the first telescopes, looking through an eyepiece has mostly been an uncomfortable affair. During my prolonged “aperture fever” I never really thought about being in a comfortable position when observing. Standing on a small ladder seemed OK. But after several long nights observing while standing I realized that sitting down had a lot of advantages. Firstly you don’t tire as quickly during the night. Secondly it’s easier keep the eyepiece centered in your eye. Lastly less tension in your body makes it easier to concentrate on the details of an object.
Design
Because I didn’t want to reinvent the wheel, I looked at lot of different designs online. Because I really needed to be up high when observing in the zenith, the chair had to have a seat position of at least 85 cm. I also wanted it to be as light and compact as possible. The height requirements meant there weren’t a lot of options. Jim fly’s design called “Catsperch Pro” seemed to tick all the boxes. Jim sells complete chairs (handcrafted), but also has building plans that are 1:1 on A3 paper. The only problem is that the dimensions are in inches. Converting them to the metric system took a little doing and resulted in some difficult sizes. For instance the thickness of the wood came out to 19 mm, which is not a standard size in Europe.
Preparation
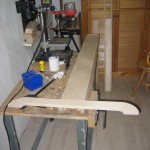
For wood I used birch plywood. Jim Fly uses real wood but plywood ended up doing the job nicely. I used I drill press I have used a drill press (essential), a regular drill, a jigsaw, lots of wood glue and screws. I chose 18 and 15 mm birch plywood that I had cut to size. Total construction time was one weekend and two very late nights. A pictural of the rather critical order of building can be found at http://www.wood-wonders.com After recalculating the dimensions and figuring out the order in which to build, I started out cutting the paper templates that were included in the plans. These were taped to the plywood as guide for further cutting.
Construction
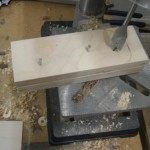
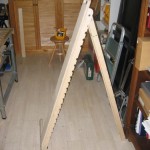
Then I started with a critical part of the chair. The notched ribs at the back of the chair are important for the rigidity and need to be aligned with each other. To make the ribs with notches you can use a drill press to drill holes in a board and then cut this board in half. However, due to the width of the saw your notches won’t be perfect semi circles. I choose to drill through two boards that were screwed together and then cut the two boards.
The back support consists of two legs and two boards that are glued and screwed. The legs of the chair make a 42 degree angle so the bottom ends of the legs need to be filled off to that angle. To make sure that the foot and seat are horizontal I used a drillpress to drill through the stacked sides of the seat and step. I used aluminium tubing as dowels for the seat and the step.
The foot is essential for stability and I ended up fixing it permanently to the chair. Some non- slip material was used on the step not to slip on damp nights. The final thing was the hinge. Jim Fly’s chairs have a special hinge that allows you to open and fold the chair. I had to make my own. A short square aluminum tube is permanently fixed to a U-profile and can be connected to the rear support with a small bolt. The position of the hinge proved to be unpractical and I made the change to a longer hinge that is positioned much lower.
Since building the chair I’ve had many great nights of observing the heavens and I must say you do almost feel like you’re looking through a bigger telescope when you’re sitting down.
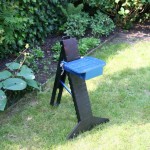
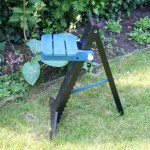
Observation Chair version 2
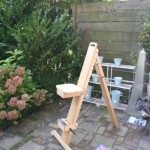
After I rebuild my 45 cm telescope to a “low rider” I didn’t need any help getting to the eyepiece. I could basically do all my observations standing on the ground. However since I had gotten very used to sitting down I decided to build a second chair using the seat and step from the original. Here are some pictures.

